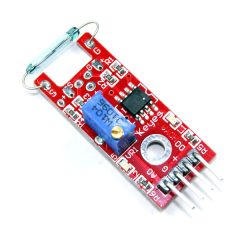
The KY-025 Reed Switch Module is a small electrical switch operated by an applied magnetic field, commonly used as proximity sensor.
The module has both digital and analog outputs. A trimmer is used to calibrate the sensitivity of the sensor.
Compatible with Arduino, Raspberry Pi, ESP32 and other microcontrollers. For digital output only use the KY-021 mini reed switch.
KY-025 Specifications
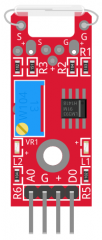
This module consist of a 2x14mm normally open reed switch, an LM393 dual differential comparator, a 3296W-104 trimmer pontetiometer, 6 resistors, 2 LEDs and 4 male header pins.
| Operation Voltage | 3.3V ~ 5.5V |
| Board Dimensions | 1.5cm x 3.6cm [0.6in x 1.4in] |
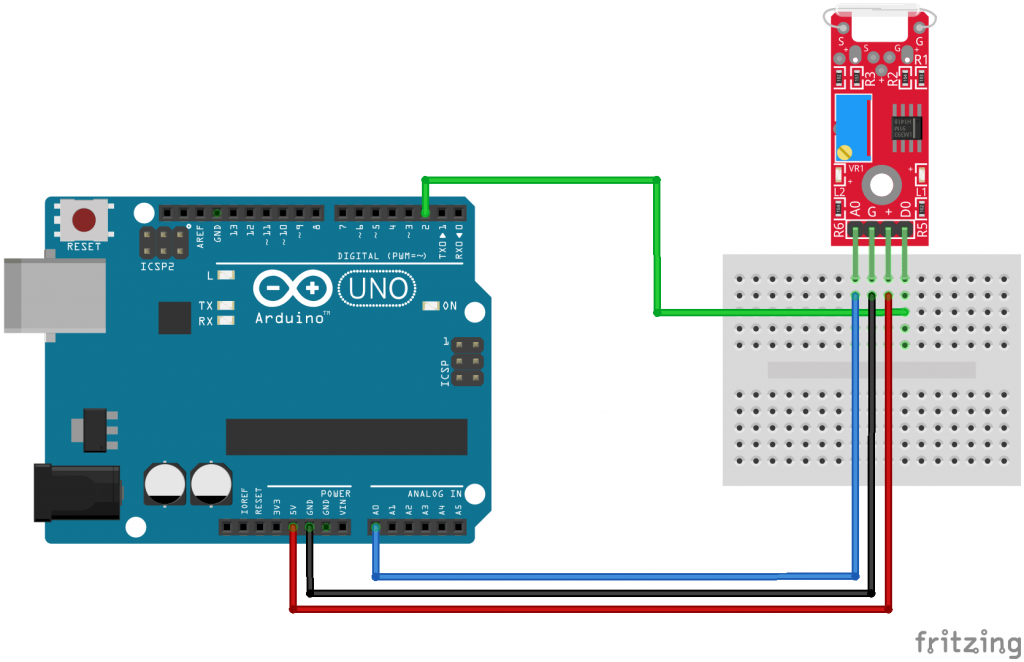
Connection Diagram
Connect the board’s analog output (A0) to pin A0 on the Arduino and the digital output (D0) to pin 3.
Connect the power line (+) and ground (G) to 5V and GND respectively.
| KY-025 | Arduino |
|---|---|
| A0 | Pin A0 |
| G | GND |
| + | +5V |
| D0 | Pin 3 |
KY-025 Arduino Code
In this Arduino sketch we’ll read values from both digital and analog interfaces on the KY-025, you’ll need a magnet to interact with the module.
The digital interface will send a HIGH signal when a magnetic field is detected, turning on the LED on the Arduino (pin 13).
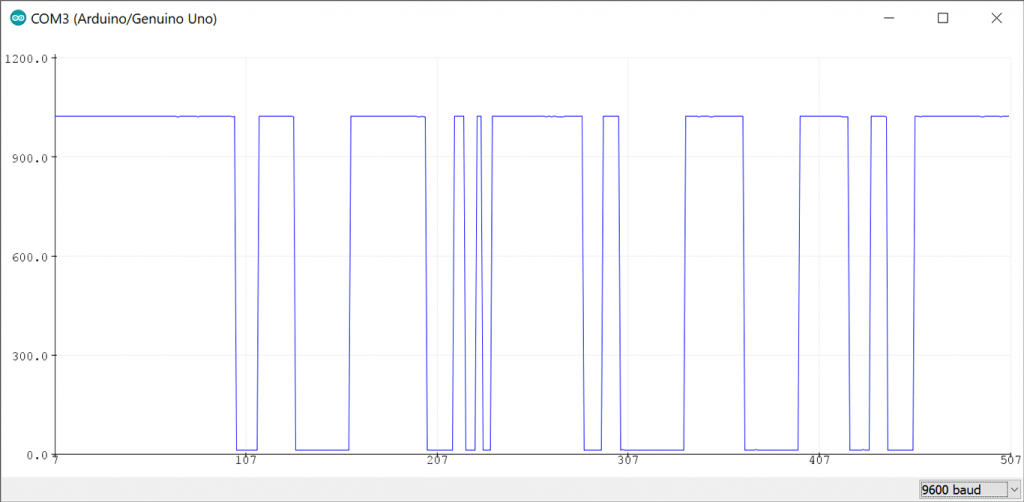
On the other hand, the analog interface will return a HIGH numeric value when there’s no magnetic field present and it’ll drop to zero when a magnet is near.
int led = 13; // define the LED pin
int digitalPin = 3; // KY-025 digital interface
int analogPin = A0; // KY-025 analog interface
int digitalVal; // digital readings
int analogVal; //analog readings

void setup()
{
  pinMode(led, OUTPUT);
  pinMode(digitalPin, INPUT);
  //pinMode(analogPin, OUTPUT);
  Serial.begin(9600);
}

void loop()
{
  // Read the digital interface
  digitalVal = digitalRead(digitalPin);
  if(digitalVal == HIGH) // if magnetic field is detected
  {
    digitalWrite(led, HIGH); // turn ON Arduino's LED
  }
  else
  {
    digitalWrite(led, LOW); // turn OFF Arduino's LED
  }

  // Read the analog interface
  analogVal = analogRead(analogPin);
  Serial.println(analogVal); // print analog value to serial

  delay(100);
}
Use Tools > Serial Plotter on the Arduino IDE to visualize the values on the analog interface, use a magnet to trigger the switch.
your fritzing picture is incorrect. its showing D2 but your code and example are D3. thank you
Kann man das Modul auch für elektromagnetische Felder nutzen und welche Reichweite hat das Modul?